
D-I-Y display unit

Hello!
Today's post is going to be a fun ( and hopefully easy) D-I-Y.
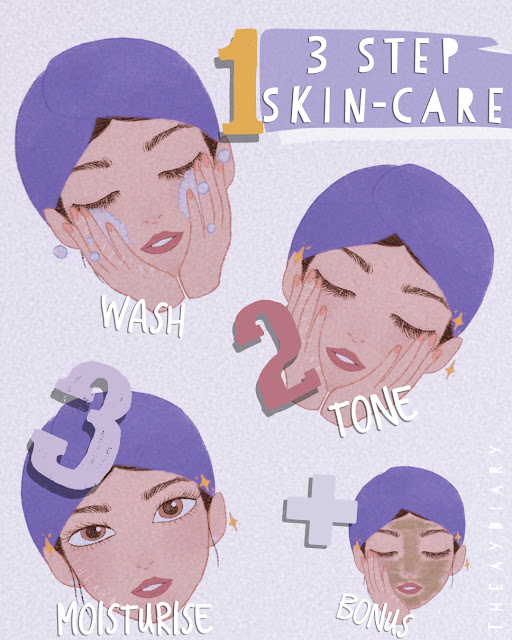
So I needed somewhere specifically to display my skincare products, since I usually forget to use them. I looked on-line at different ideas and I came across a couple of D-I-Y display unit made with crates. I liked the look of it and thought it suited my room very well.
PLEASE NOTE THAT:
this D-I-Y is so versatile, so please feel free to modify the project for your needs. It does not have to be a three shelve unit, it could be a two/four shelve unit,or even side table if you only use one crate.
so here is what you need for this project:

- 3 crates (Ikea) {45QR each}
- wood glue (Monoprix) {22.50 QR}
- 4 legs (optional) (Ikea) {75 QR}
- screwdriver (Monoprix) {5.50 QR}
- nails & hammer (optional)
- paint (optional)
ASSEMBLE THE CRATES:
if you got the crates from Ikea here is some things to note while assembling them:
 |
| inside of the crate |
please make sure to have the right sides together.
 |
| these panels should face the outside |
the bottom of the crate (from the outside) should have two panels along each side.
STACK & GLUE THE CRATES:
after you assemble the crates it's time to lay them however you want them to look. Below are a couple of examples to give you ideas:
 |
| three crates + legs |
 |
| two crates + legs |
 |
| one crate + legs |
I personally will stack the three of them on top of each other and glue them with wood glue. You can use hammer and nails or screw driver and screws. if you choose to glue them, use heavy objects on top of each crate to ensure that they will stay in place while drying.
ADD THE LEGS:
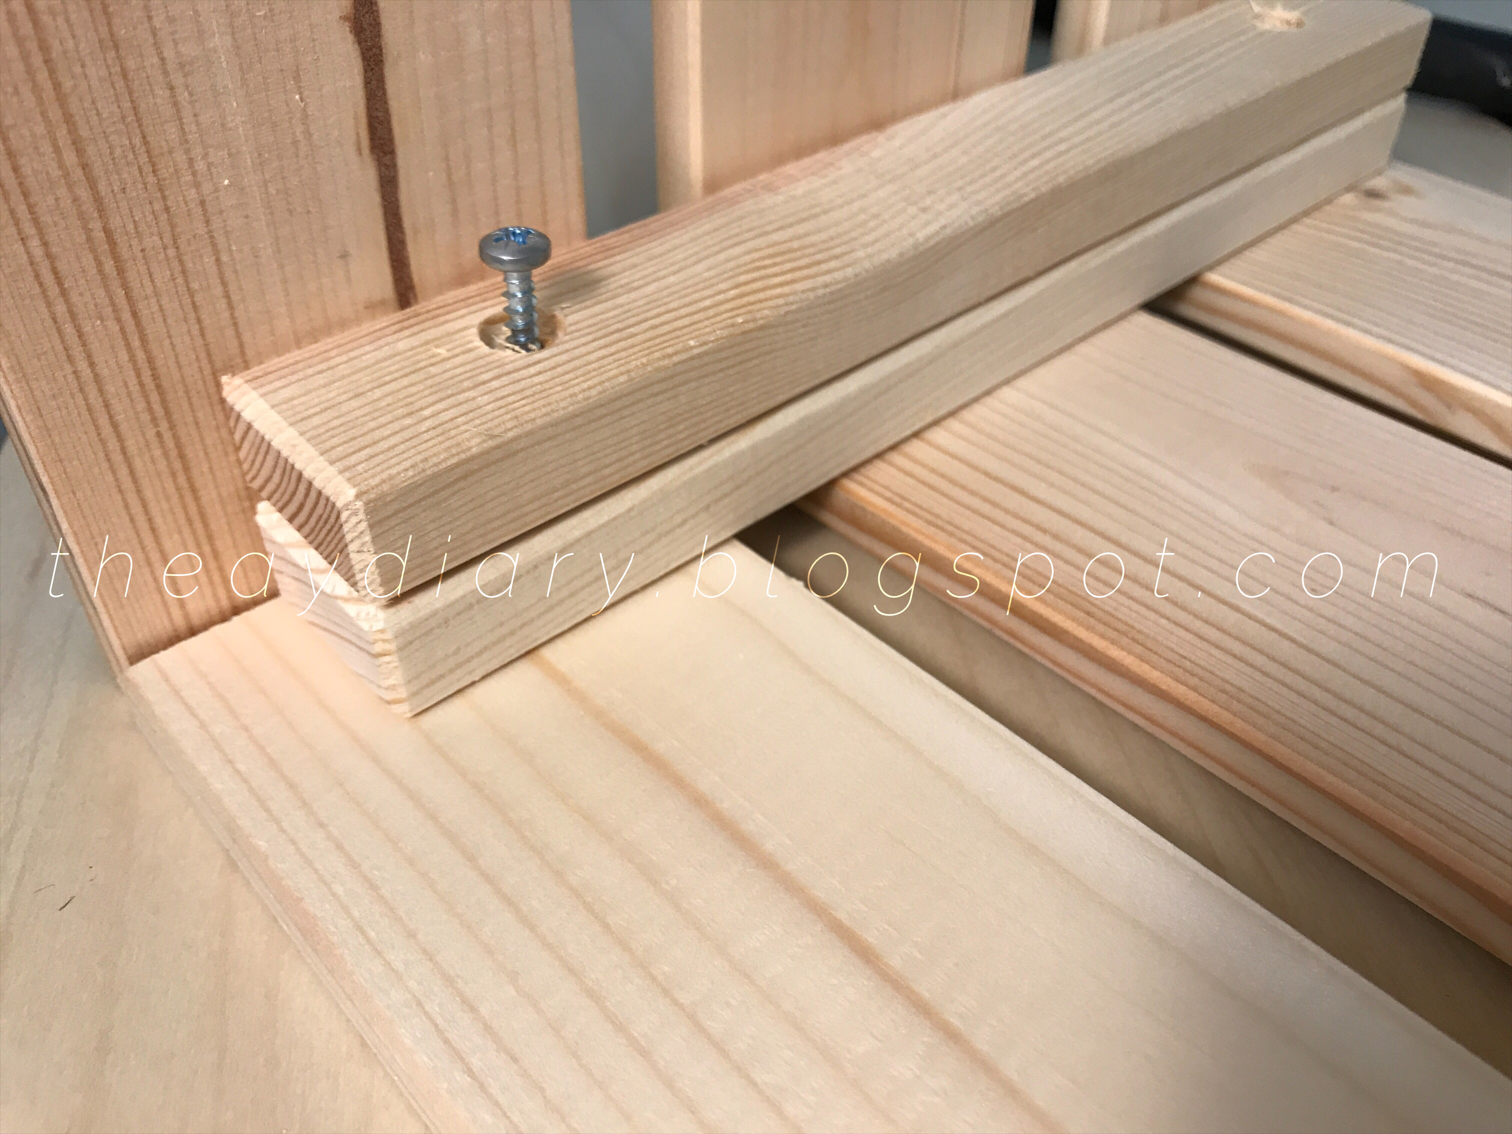
This is an optional step. You can play around with the look and get casters or mini wheels to move the unit around if you want to. My crates split when I tried to screw the legs in, so I opted for wood glue.
 |
| split wood after trying to drill |
I removed all of the screws on the legs (might I say it was very difficult).
 |
| legs without the screws |
 |
| after wood glue is applied |
you can use a glue gun though I would not recommend it personally because the crates are very very heavy.
at this point you can stain, paint, or glaze the wood. I like how it looks raw so I left it as is .
DONE!
finally, place products and decorate!

It does not have to be a skin care unit, you can use it for extra bathroom towels and toilet paper,display shoes and bags or even store make up in it.
follow me on Instagram
@TheAyDiary
keywords:#craftshow #diydecor #dıy #brightideas #instacraft #useful #diys #inpire #letsdoit #photooftheday #pretty #eyes #me #happy #nails #nail #美甲 #art #ootd #beauty #fashion #beautiful #love #style #girl #instagood #hair #model #selfie #cute#gifts #gift #smile #mua #diyyour #embroidery #embroideryart #handembroidery #handmade #hoopart #diy #craft #craftsposure #creativelifehappylife #craftcircle #cylcollective #makersgonnamake #handmadeisbetter #etsy #etsyseller #made_in_mtl #broderie #shopsmall #fiberart #shophandmade #makersvillage #abmcrafty #abmlifeiscolorful #bordado #holidays#penguins #penguinsofinstagram #snowy #familythe #liketkit #recipes #yummy #tutorial #interiordesign #homedecor #design #decor #tile #dreamkitchen #goals #architecture #inspiration #interior #granite #hgtv #inspo #villa #house #modern #success #exterior #bathroom #bedroom #dream #loft#residence #flat #apartment #prank #pranks #prankwars #joke #jokes #tricks #makeup #fun #creativeideas #plotter #freebie #funnypranks #projekt #taschen #glücksklee #silhouette #silhouettecameo #plotterliebe #ferreroküsschen #schneideplotter #plotten #plotting #klee #kleeblatt #kreativ #paperworks #creative#handmadeso #aunaturale #coconutoil #charcoal #sugarscrub #diytoday #disney #mickeyears #beautyandthebeast #seamstress #waltdisneyworld #animalkingdom #kahvecianne #etkinlikpaylaşımı #etkinlikfikri #reggiokids #earlylearning #igkiddies #okuloncesi #waldorf #waldorfinspired #montessori #kindergarten #aktivitesaati #toddler #toddlerlife #preschool #etkinlikzamani #prekinder #lifewithkids

Comments
Post a Comment